

|
Mounting Holes for the WET-11 Wireless Bridgeversion 0.3 |
The Linksys WET-11 wireless bridge can't easily be mounted with status lights in front and the antenna pointing up. Holes in the back would help.
Dissasembly of the WET-11 is pretty easy.
Take off all four feet even though only two of them have screws underneath.
That way the back lies flat while you're working on it.
I used the point of a fingernail file to push and pry the feet off--their
undersides are just flat and glued on.
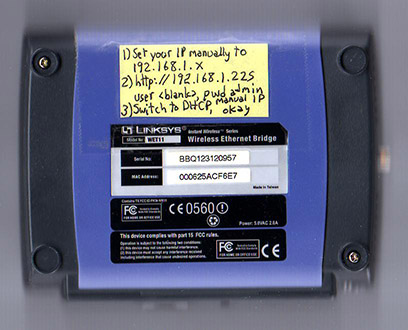
After removing the two screws, next find the label that says, "If this seal is removed or broken, the product warranty will be void." If you accept the awesome responsibility of voiding the warranty, split the seal so it doesn't hold the two halves together. Then pry the halves apart gently with a screw driver. There's a minor pop on two of the corners, nothing difficult.
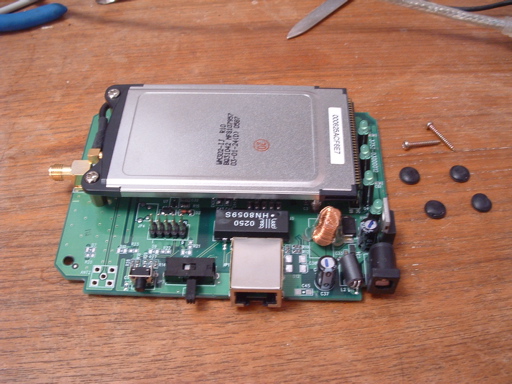
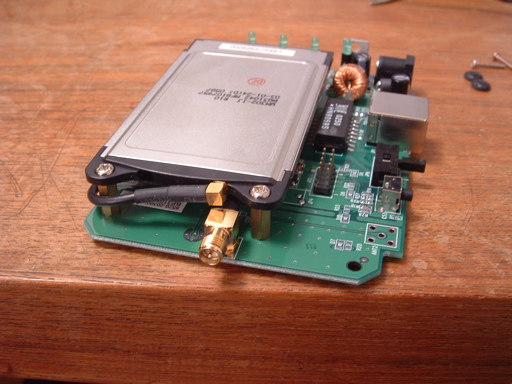
Here are some views of the insides. Looks like the guts of the device is a
PCMCIA card, or at least in the package of one-- I didn't try plugging it into any
computers. Here's the side with the external connectors and switches:
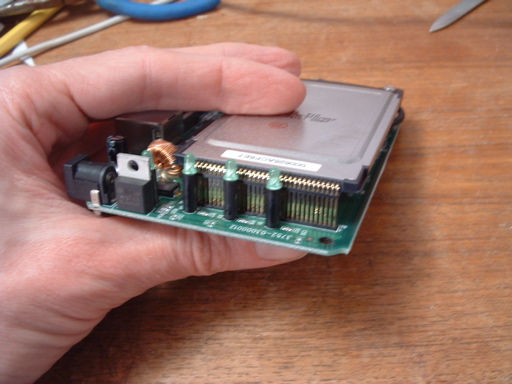
The PCMCIA connector and status LEDs:
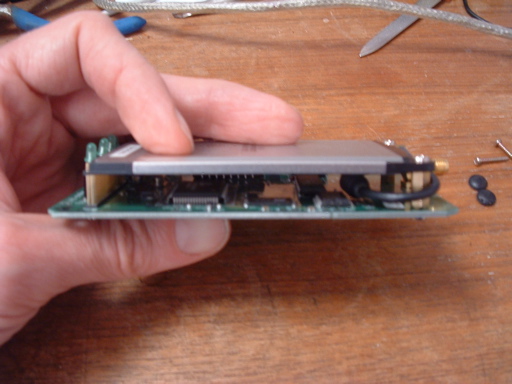
There are some chips under the PCMCIA card.
I wonder whether they're running Linux; the device does put up a web page.
Sorry, not a great photo:
The external antenna connector, plugged into the card with an N-connector:
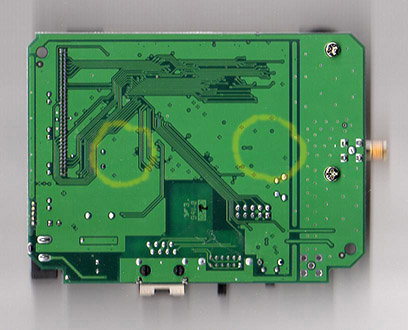
And the underside of the PC board. This is mainly to show that there are
two areas near the middle with no exposed metal:
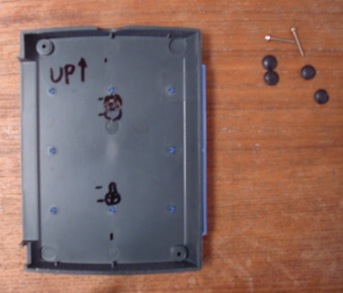
Here's the inside back cover.
The antenna connector opening is at the top.
This surface is closest to the back of the PC board when the unit is assembled.
Notice the eight blue blebs in a square. They may just be mold marks, or
they may help hold the circuit board away from the cover.
I've marked where I want to make two... gourd-shaped holes, the lower one is clear.
The skinny tops of the holes are where the mounting screw heads will end up, so they're
opposite the blank areas of the circuit board mentioned above.
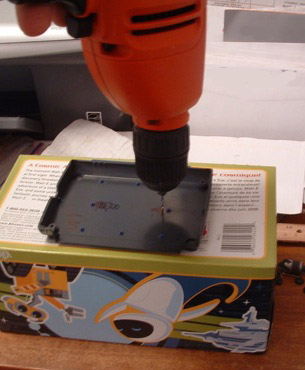
Here's my drill press. I used a 1/16" bit for pilot holes, a 1/8" bit for the
skinny ends of the gourds, and a 1/4" bit for the fat ends:
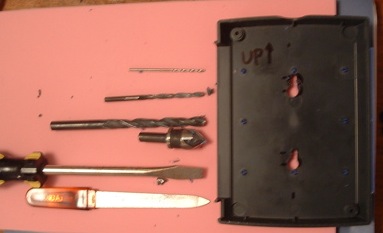
Here is the inside after drilling. Shown are the 1/16", 1/8" and 1/4" drill bits,
the wonderful hole-cleaning bit whose name escapes me at the moment, a
screwdriver, and the fingernail
file I finally cleaned the holes up with.
To punch the straight necks of the gourds, I used the screwdriver--
not recommended as hammering the handle of a screwdriver
can easily break it off or loosen its grip on the shaft.
I used 1/4" thick, dense craft foam--
the pink material-- underneath, and a notebook underneath that, while punching.
To get the gourd necks 1/8" wide after I did my best by punching,
I used the 1/8" bit in the drill as a grinder.
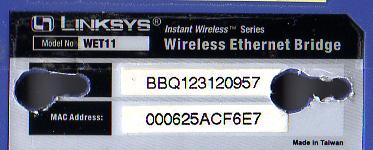
Here's the effect on the label on the back:
The guts slide into one half of the case by angling the connectors into their holes, then the halves pop together easily. Screw the two screws back in. I put the feet back on with glue-stick glue.
I found two short wood screws with the right diameter and conical heads,
screwed them into
my bookcase...
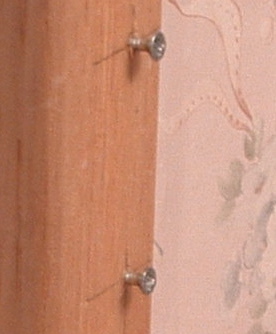
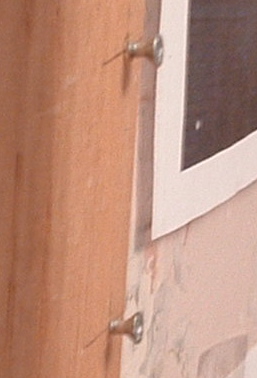
...and mounted the WET-11. Success!
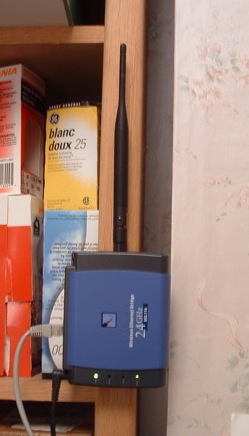
--Steve Witham
Up to my home page.